Brian had a three day weekend and his parents had the kids – so we thought to take on a house project – and this one turned out bigger than we thought!
After putting up a tile backsplash in the bathrooms last Saturday afternoon, we figured the kitchen should go quickly enough.
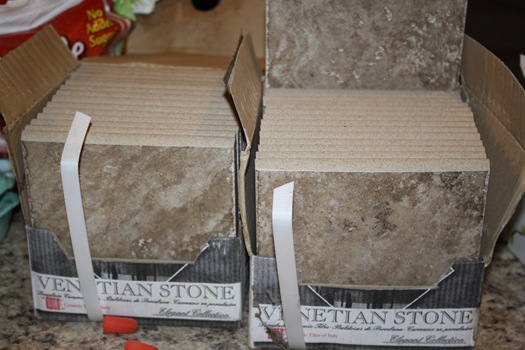
Amy’s Dad had some tile in the shed he bought on sale a long time ago. The color matched with the counter tops so we were set! Except for one thing, the most of the tile was “bull nosed” and we were just a bit short to do the whole kitchen. This was a discontinued color pattern so there were no more to be had.
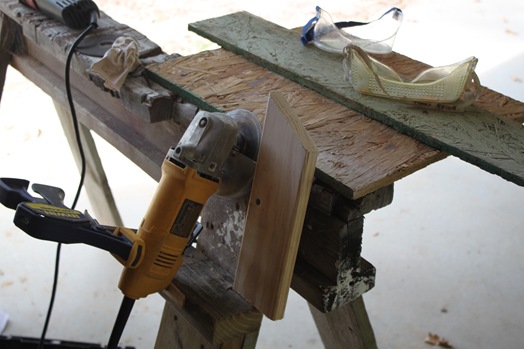
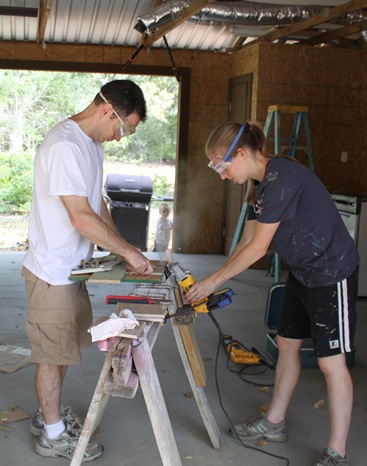
After many ideas and then a little more problem solving, Brian built a jig to hold a grinder at the right angle to cut the non-bull nosed tile to match the others.
This worked fairly well and with a coat of glaze on the cut edge, the match was almost perfect! Amy had found a few sheets of smaller tiles at a discount store that matched the tile we had so we could get a little creative. The hardest part was cutting an angle on these little pieces but Brian once again thought through the problem and came up with another jig and we managed to cut the four that we needed.
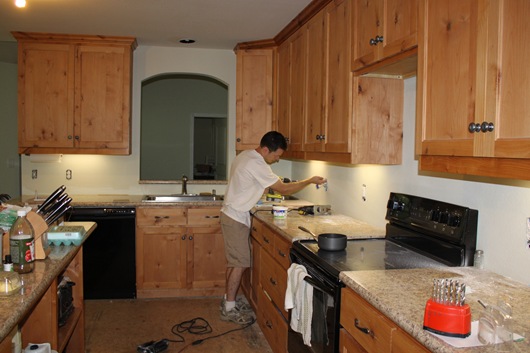
Here is a before picture of the kitchen. Brian is moving the plugs up about half an inch so the tile will fit right. Alas, already remodeling and we haven’t even finished the house! The plugs and tile cutting took all morning – much longer than we expected. 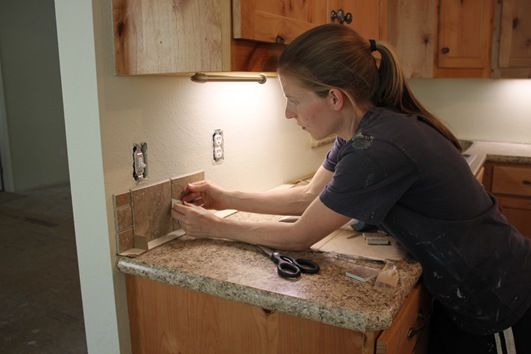
Putting the tile up went fairly quickly. Amy’s Dad suggested using caulk to hang the tiles because it would stick better to painted sheetrock than mortar would. This made the process very easy.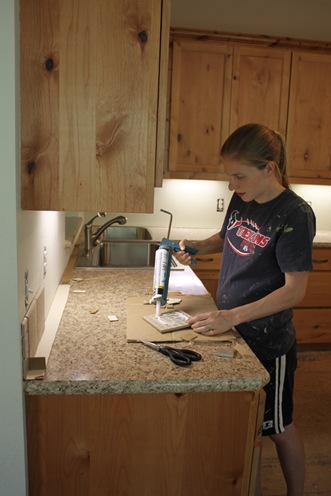
We let the caulk cure over night because we had a little bit of trouble with tile moving when we tried to grout sooner in the bathrooms. Saturday morning we started in on the grouting process. There are no pictures because this was very labor intensive and once started we couldn’t stop until everything was done!
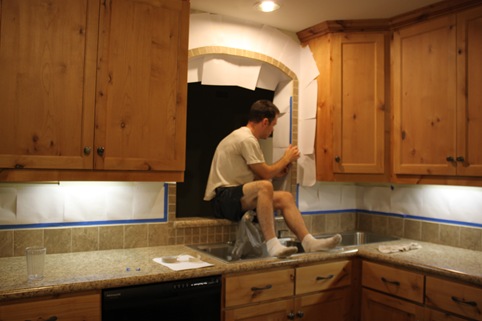
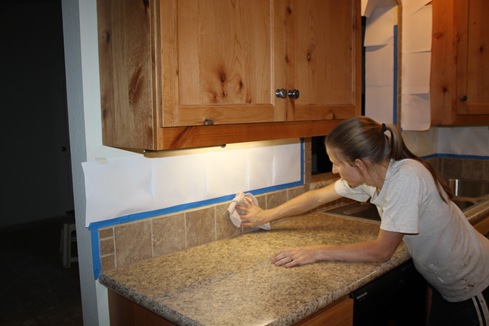
We had a same day grout sealer so that evening prepared to spray it on. Here Brian tapes up paper to protect walls and cabinets from over spray.
Amy wipes off the extra after it dried a bit. By the time we put on the second coat it was almost 10pm. We then pulled the paper off and left everything to dry overnight.
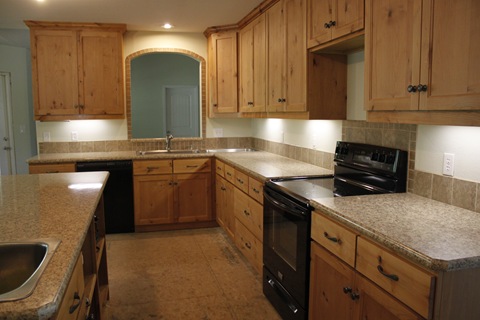
And here is the finished kitchen!
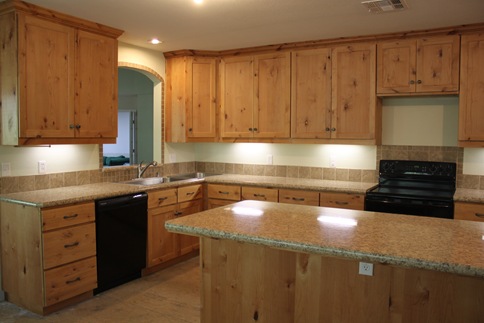
Another angle.
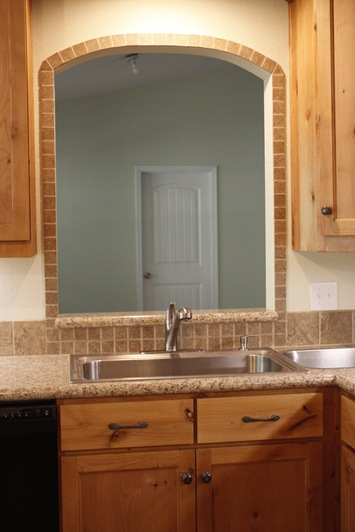
Close up on the kitchen sink/window.
It sure was fun to work hard as a team, have no interruptions and eat meals as breaks in work allowed. We were sure tired on Sunday and glad for a day of rest before the kids came back on Monday!
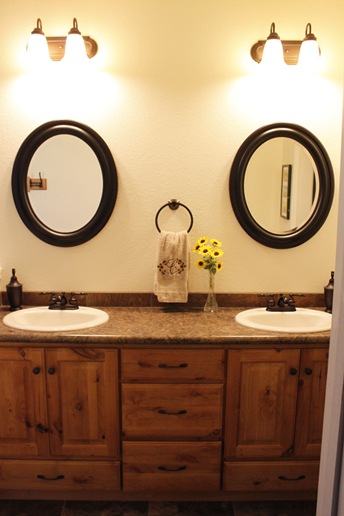
It must be nice to tick off something else as finished!
Absolutely beautiful and very impressive. I applaud you both.
wow looks awesome! you guys are amazing!
Nice work. Looks great. I also like your under-cabinet lighting.